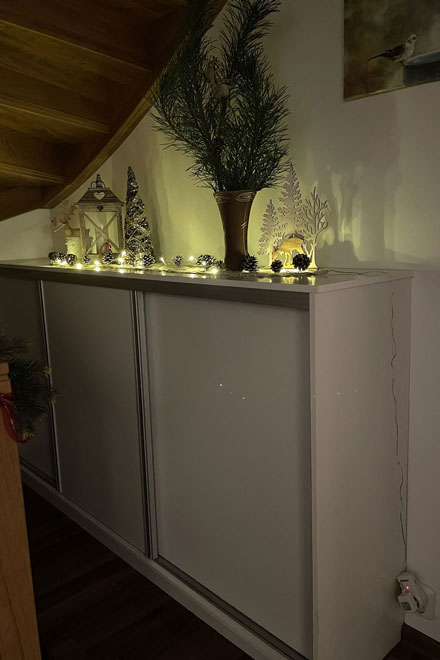
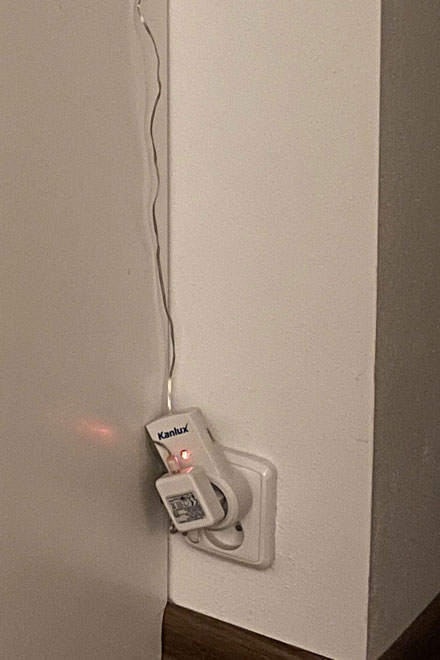
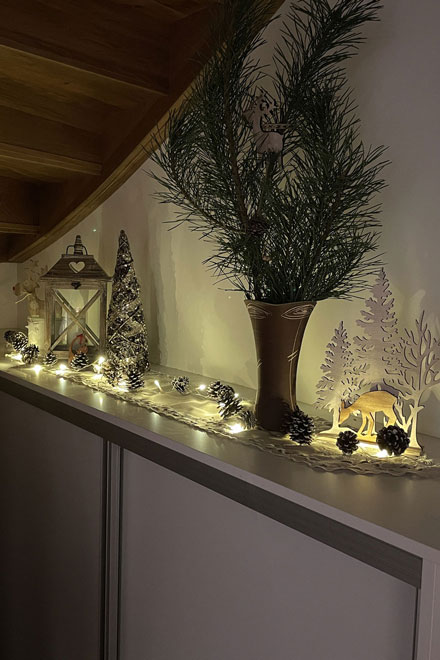
Since we have various light chains at home that do not have a timer, but simply light up when plugged in, there are people who will control them by plugging them in and unplugging them every day. Then there are those who will control them in some other way, for example using Claris FileMaker. I belong to the second group of people and I like to automate repetitive tasks. That’s why FileMaker has been controlling my Christmas lights for the second year in a row.
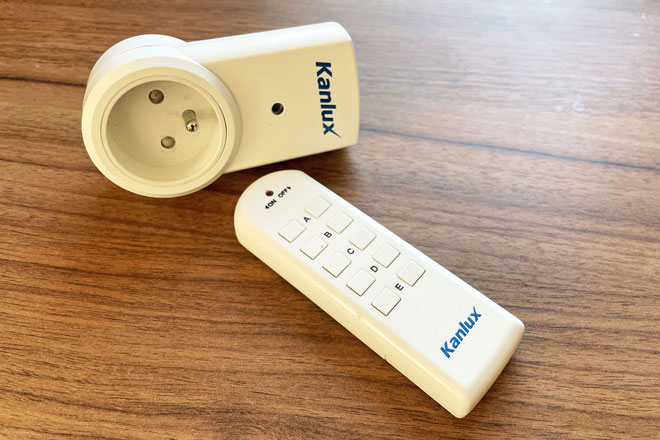
For this control, I chose radio controlled sockets, which operate on the frequency of 433 MHz. These sockets are commonly available in the store and come bundled with a remote control (transmitter). In order not to have to control the sockets manually, I decided to simulate the radio signal triggered by pressing a button on the remote control using a transmitter connected to a Raspberry Pi.
What I needed:
- Remote controlled sockets operating at 433MHz (eg: Kanlux APO TM-3)
- Raspberry Pi
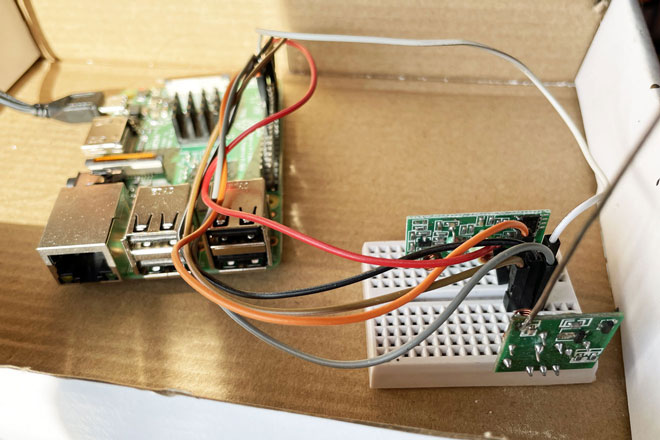
- RF 433MHz receiver + transmitter (eg. HiLetgo)
- Software for receiving / sending data
- Running web server on Raspberry Pi
- FileMaker Pro to develop the controlling app
- FileMaker Server to host the automated version of the controlling app
- Xgode to build the iOS version of the controlling app
How I made it work:
1. Verify the functionality of the sockets and controls
As the first step, I started by trying the sockets with the supplied remote control. There is nothing worse than hunting for a bug in a wrong place later, so I checked the components to make sure the controller was working and switching the sockets.
2. Receiver and transmitter connection
I connected the transmitter and receiver to Raspberry according to the instructions from the Videgro Consulting Blog. It was not complicated, you just need to follow the correct wiring.
3. Remote control simulation
After I connected the receiver and transmitter, it was time to create software that would work with the hardware. To do this, I used the “Controlling your wall sockets” tutorial from the Videgro Consulting Blog. Specifically, I chose Method 2 by Patrick Schmitz. I started by saving the code from the driver to a file on my computer. I started the application for uploading a sequence of data and pressed the button on the remote control which was supposed to turn on the socket. Then I stopped uploading and checked in a text editor if the saved file contained data. After verifying that something was recorded, I tried to broadcast this recorded sequence using a data application. To my surprise, the outlet really turned on as if I had triggered it with the remote control. In the same way, I then recorded control sequences of the remaining buttons for turning the sockets on and off.
4. Broadcasting data using a web server
By running FileMaker Server on a computer other than Raspberry, I needed to trigger the data application remotely. There are several ways to achieve this, but I chose a web server that I ran on the Raspberry and I created a simple PHP script that started the application and sent the necessary combination of data.
5. FileMaker application
In FileMaker, I finally created a simple database, where each record represents one socket. It also allows for setting the start and stop times for each socket. Then I used FileMaker Server to set up a regular task that checks if the specified start / stop time has occurred, and uses the InsertFromURL script step to run my PHP script that runs the application to send the right sequence of data over the radio. Since I do not receive any response from the socket after sending the command sequence, I send each sequence 3 times, just for case, thus increasing the probability that the socket actually receives and processes the data.
I know there are several different ways to do this, but I chose this path because I have more data in FileMaker and I can base the control on additional information. In addition to Christmas lights, it is also possible to control the sockets when leaving for holidays, so that the lights in the house light up virtually randomly, or control other devices.
Thanks to Xgode, it is also possible to very easily create a native iOS application from the FileMaker database which you can use to control your devices directly from your mobile phone.
Summary
This article was written to demonstrate that FileMaker is relatively easy to use to automate hardware solutions. While it wouldn't be entirely economical to turn on Christmas lights as its only use, it can certainly inspire you for many more ideas on how to control your hardware with FileMaker. And the joy of turning on a light bulb with FileMaker is worth the effort :)


